


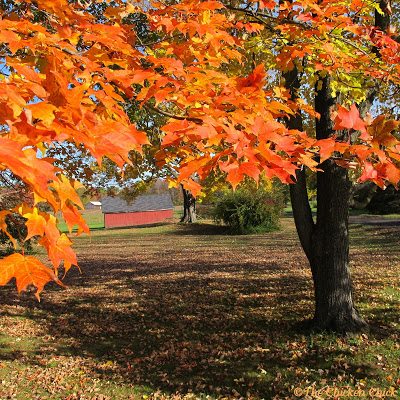
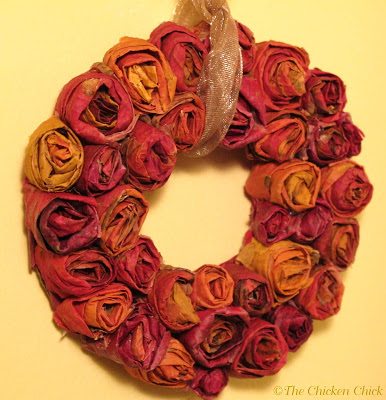
The beauty of fall foliage here in New England is always so short lived, so when I saw a Pinterest project that utilized autumn leaves in a unique way, preserving their beauty, I went right outside and began gathering leaves!
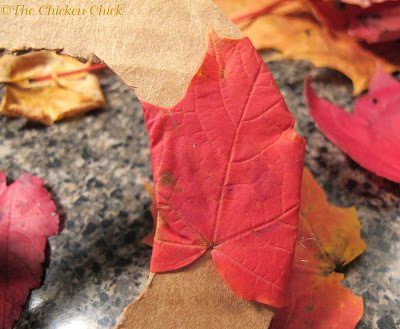
The materials are simply freshly fallen or picked leaves, a glue gun, ribbon and a piece of cardboard (frame, optional). The leaves should be pliable in order to bend them in the manner required.
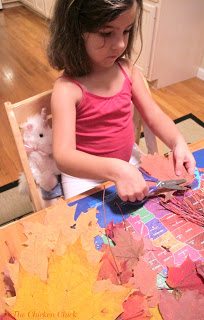
I had begun removing the stems from the leaves when I remembered that my four year old loves to cut ANYTHING with scissors, (her sister’s homework, hair, the usual) so I enlisted her enthusiastic services. She was a brilliant, little helper, which expedited this fairly time-consuming project.
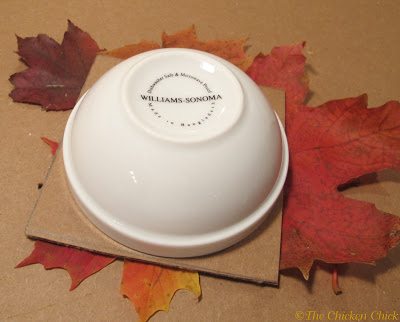
Determine the size of the wreath desired, then trace 2 circles & cut out the wreath form.(the circumference of my mini wreath was 4.5″)
Hot glue leaves to the cardboard, covering the sides.
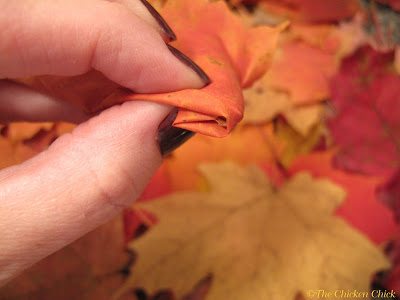
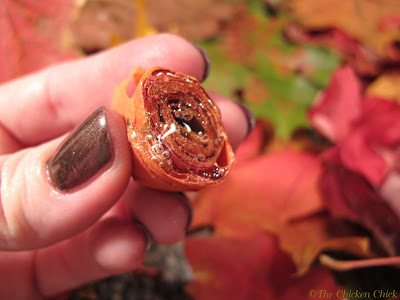
Begin making the rosettes by folding a leaf in half along the center vein (pretty side out) then begin rolling. After starting the center of the rosette, fold top edge of the leaf down and away from the center slightly to create a fuller-looking rosette
The rosette on the left was made WITHOUT folding and has a more flat appearance. I prefer the look of the rosette on the right, which was made by folding, but both will work.
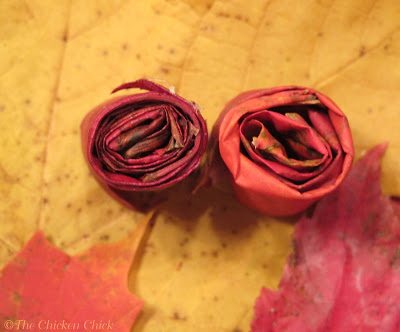
Each rosette will require 2-5 leaves. It’s good to have a variety of sizes.

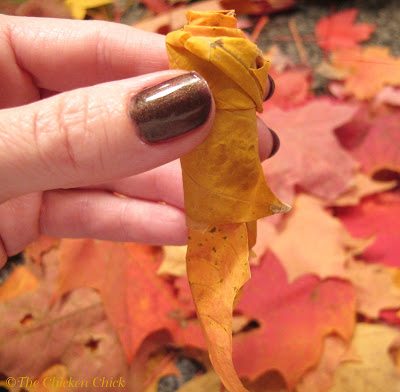
When the desired rosette size is achieved, place a dab of hot glue on the top edge to secure the end.

Determine the height of the rosette desired, then snip off the excess. The bottom edge should be level. I made a 4.5″ wreath form and my rosettes were 1.25″ long.
Add hot glue to the bottom of the leaf and begin placing on wreath form.


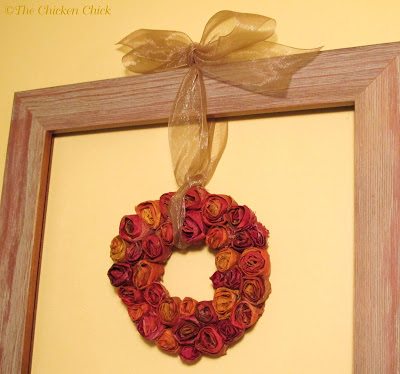
Tie a piece of ribbon or tulle to the top and tie onto an empty picture frame if desired.

This post is shared with: An Alli Event, Diana Rambles, Glitter Glue & Paint, Fluster Buster,Glitter Glue & Paint, I Gotta Try That, Lavender Garden Cottage, Life With the Crust Cut Off, Lamberts Lately, Lovely Ladies, Repurpose My LifeCheerios & Lattes, DebDuty, Debbie Doo’s, Or So She Says, SaltTree, The Best Blog Recipes,The Blissful Bee, The DIY Dreamer, The Hankful House, The Happy Housie,The Pin Junkie, Tuesdays with a Twist

Kathy Shea Mormino
Affectionately known internationally as The Chicken Chick®, Kathy Shea Mormino shares a fun-loving, informative style to raising backyard chickens. …Read on


shop my SPONSORS


The beauty of fall foliage here in New England is always so short lived, so when I saw a Pinterest project that utilized autumn leaves in a unique way, preserving their beauty, I went right outside and began gathering leaves!
The materials are simply freshly fallen or picked leaves, a glue gun, ribbon and a piece of cardboard (frame, optional). The leaves should be pliable in order to bend them in the manner required.
I had begun removing the stems from the leaves when I remembered that my four year old loves to cut ANYTHING with scissors, (her sister’s homework, hair, the usual) so I enlisted her enthusiastic services. She was a brilliant, little helper, which expedited this fairly time-consuming project.
Determine the size of the wreath desired, then trace 2 circles & cut out the wreath form.(the circumference of my mini wreath was 4.5″)
Hot glue leaves to the cardboard, covering the sides.
Begin making the rosettes by folding a leaf in half along the center vein (pretty side out) then begin rolling. After starting the center of the rosette, fold top edge of the leaf down and away from the center slightly to create a fuller-looking rosette
The rosette on the left was made WITHOUT folding and has a more flat appearance. I prefer the look of the rosette on the right, which was made by folding, but both will work.
Each rosette will require 2-5 leaves. It’s good to have a variety of sizes.
When the desired rosette size is achieved, place a dab of hot glue on the top edge to secure the end.
Determine the height of the rosette desired, then snip off the excess. The bottom edge should be level. I made a 4.5″ wreath form and my rosettes were 1.25″ long.
Add hot glue to the bottom of the leaf and begin placing on wreath form.
Tie a piece of ribbon or tulle to the top and tie onto an empty picture frame if desired.
This post is shared with: An Alli Event, Diana Rambles, Glitter Glue & Paint, Fluster Buster,Glitter Glue & Paint, I Gotta Try That, Lavender Garden Cottage, Life With the Crust Cut Off, Lamberts Lately, Lovely Ladies, Repurpose My LifeCheerios & Lattes, DebDuty, Debbie Doo’s, Or So She Says, SaltTree, The Best Blog Recipes,The Blissful Bee, The DIY Dreamer, The Hankful House, The Happy Housie,The Pin Junkie, Tuesdays with a Twist


What a cool wreath! I would never have thought leaves could look like flowers. Such a clever idea!
Thanks for hosting the blog hop! linked up my blog http://justjist.blogspot.com
YUM! Thanks for linking up!
Thanks so much for hosting!
Linked up my post for CREAMY BLUE
CHEESE DRESSING.
http://littleowlcrunchymomma.blogspot.com/2012/11/recipe-creamy-blue-cheese-dressing.html
Easy, yummy, delish!
<3
Thank you for hosting, enjoy your evening!
-Fotini