


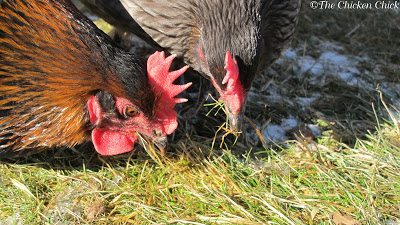
Chickens rely upon their beaks as tools to accomplish tasks that hands would serve- if they had them. Chicken beaks aid in eating, drinking, grasping, exploring, digging, transporting, grooming and communicating. Beak injuries are common and can result from colliding with an object, particularly when the bird is startled, fighting with predators or other chickens and getting the beak stuck in between hard objects such as hardware cloth fencing.
The extent of an injury can range from a simple chip to a fracture to a partial or complete removal of the beak from its underlying structures. A significant beak injury can be devastating to a chicken, not only can it be incredibly painful, and the injury can prevent the chicken from eating and drinking normally, endangering its ability to survive.
According to Dr. Melissa Shapiro, a veterinarian in Westport, Connecticut who owns a mobile veterinary service, “veterinary consultation and care is recommended for all animal medical issues. Some minor cracks can be left alone and they will grow out and be fine, more severe cracks need to be splinted and stabilized to keep the beak in alignment.” Ideally, beak injuries should be treated by a veterinarian, but unfortunately, the poultry veterinarian population has not kept pace with the rise in backyard flocks across the United States, making it necessary for chicken-keepers to be prepared to render first aid to their feathered pets, when needed.
ABOUT BEAKS
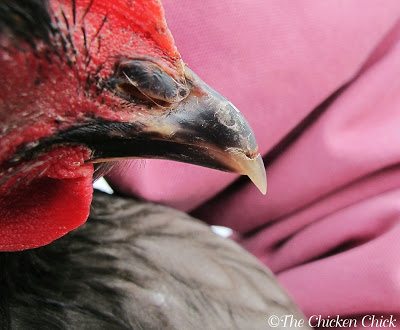
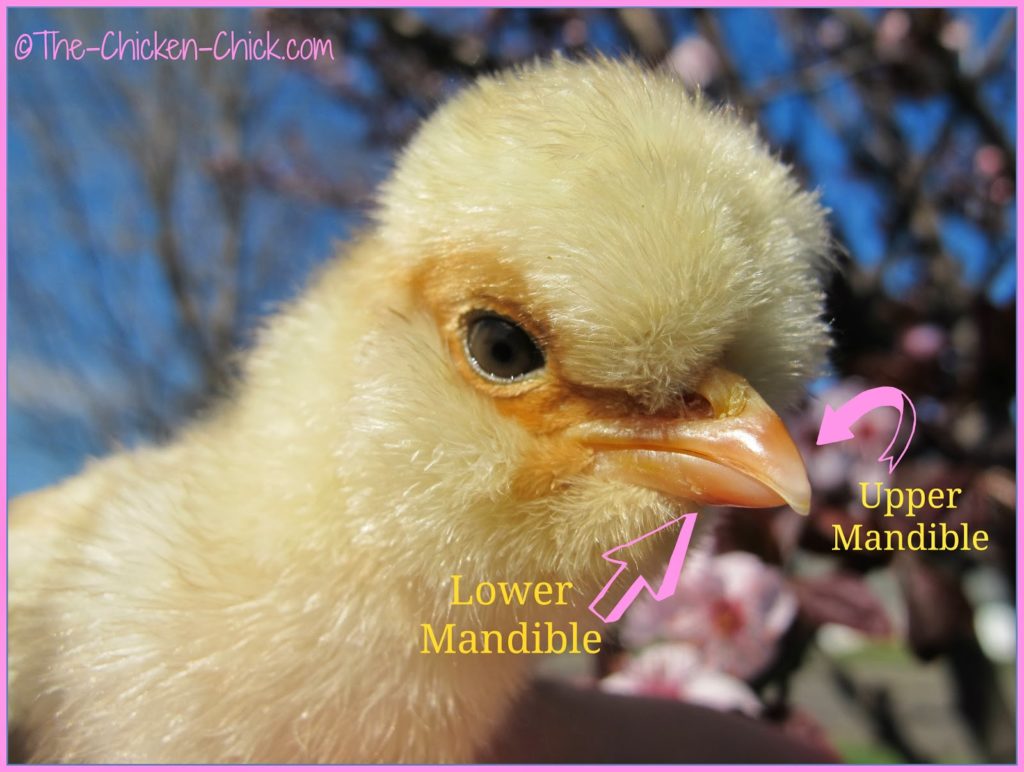
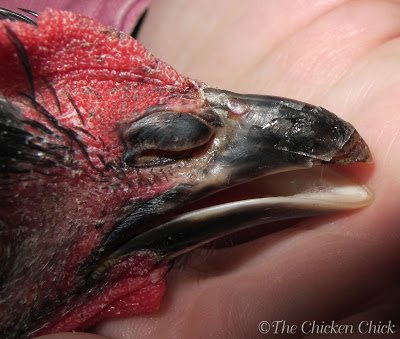
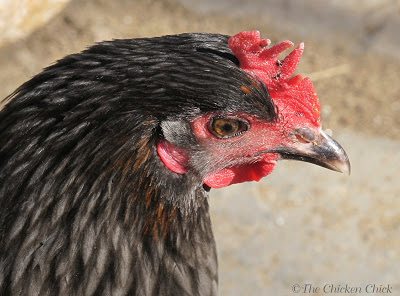
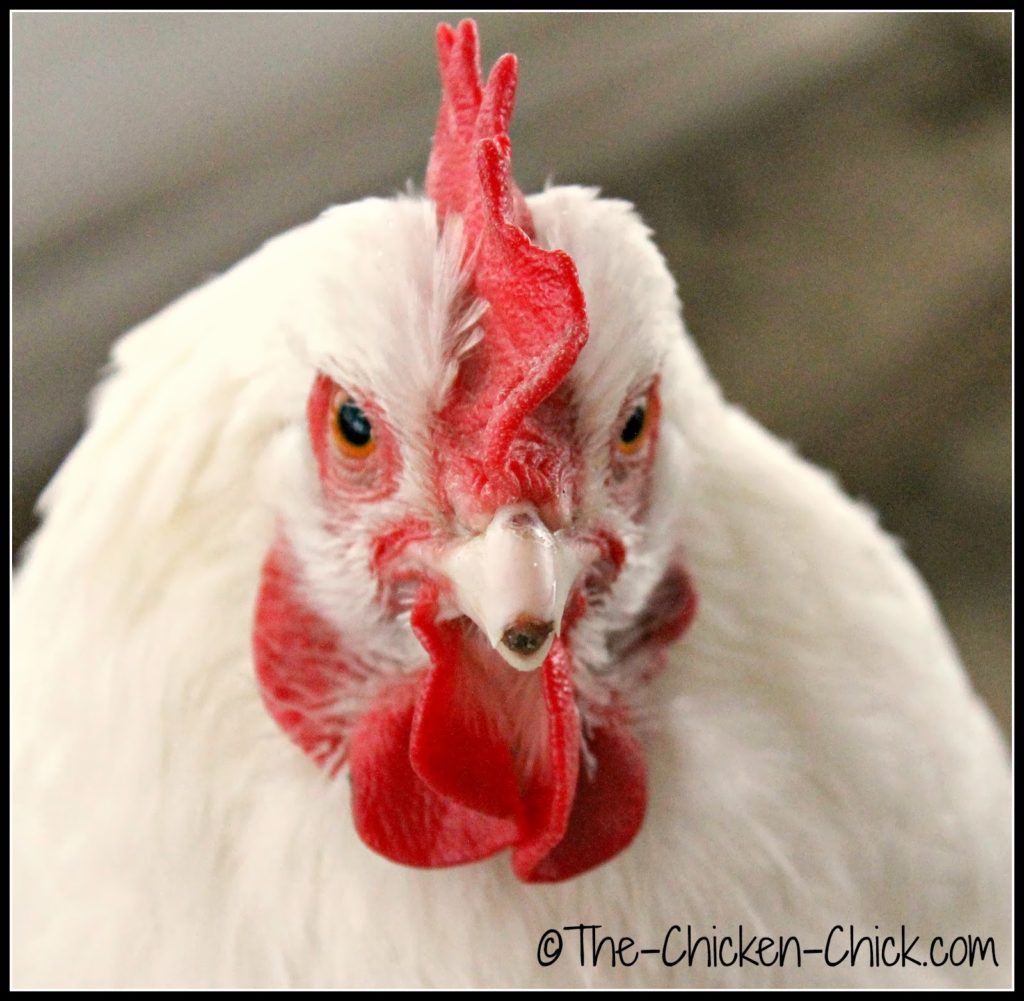
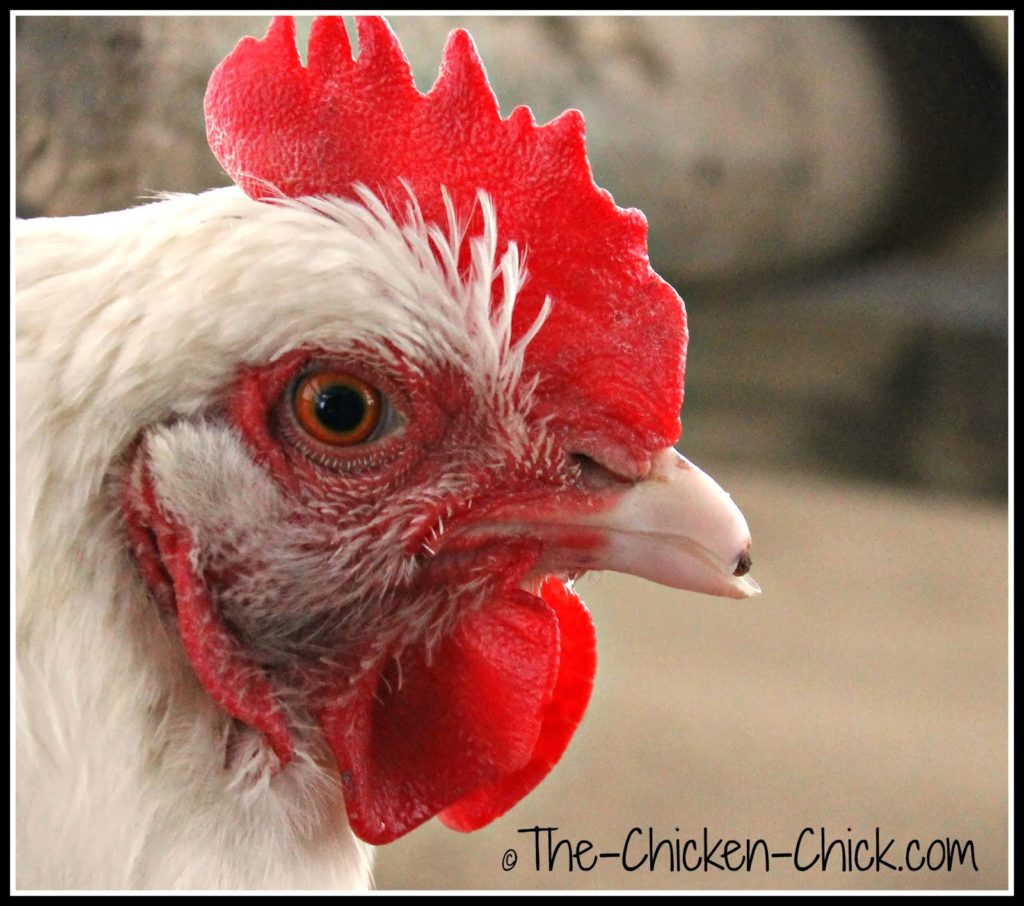
A normal beak is comprised of two halves; the upper and lower mandibles consist of bones covered by a hard keratin layer, much like human fingernails. The top mandible is slightly longer than the lower mandible and roughly two thirds of the mandibles’ length contains blood vessels and nerves underneath the hard outer layer. This network of nerves and
blood supply makes injuries to that portion of the beak especially painful and potentially life-threatening. The end tip of a chicken’s beak contains no blood supply or nerve endings, therefore is not painful when injured or trimmed. An inspection of the inside of the beak reveals where the live tissue ends and the dead portion begins. Chicken beaks continue to grow throughout the bird’s life and require maintenance, just like human fingernails.
Beak Maintenance
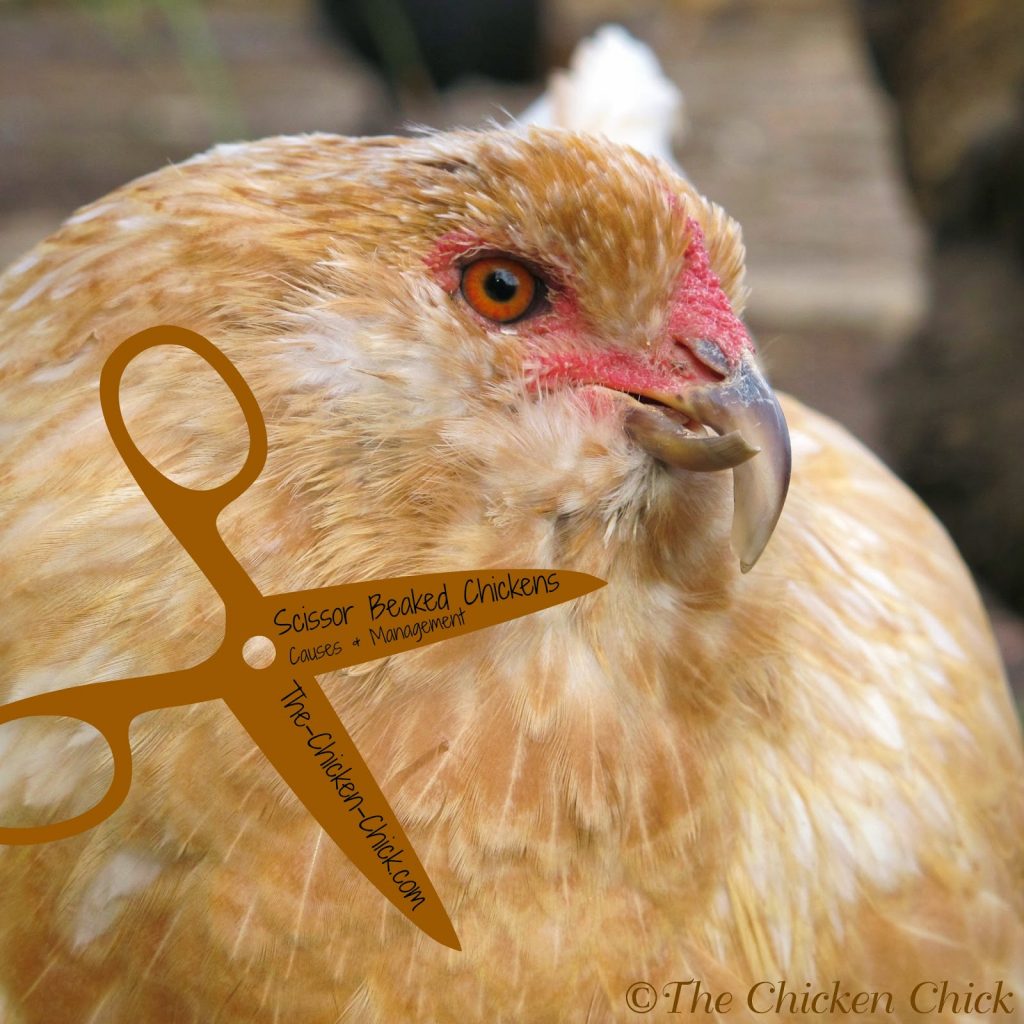
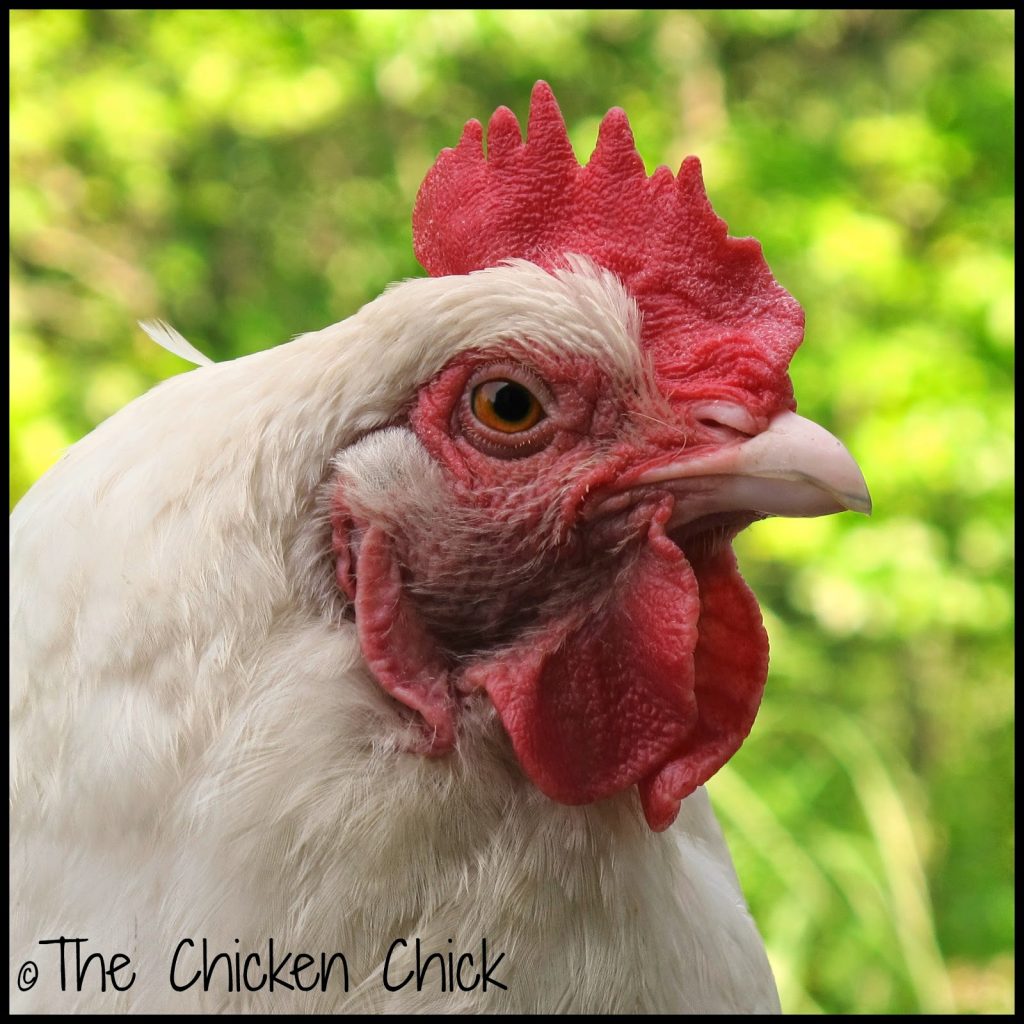
We tend not to notice beak growth in a healthy, active, backyard chicken because birds maintain their length and shape by pecking the ground and wiping them on hard or abrasive surfaces such as rocks. Beak wiping serves several other functions as well, including keeping it clean and sharpening it for tasks requiring precision such as preening and picking up insects and small pieces of food. Chickens confined to a run should be provided with a hard object such as a rock or brick, for honing. Some beaks grow abnormally for a variety of reasons. These are commonly referred to as crooked, scissor or crossed beaks and a chicken with this condition ordinarily requires assistance maintaining its beak length and shape, as well as accommodations in eating and drinking.
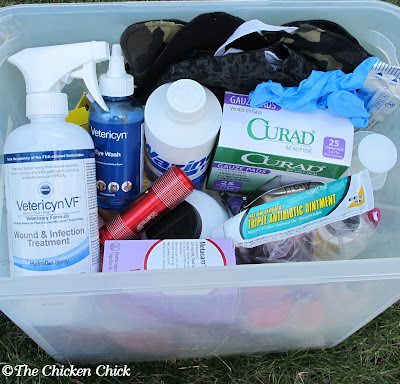
I prepare for emergencies in my flock by keeping a well stocked chicken first aid kit. For beak injuries, the following supplies are essential: canine nail clippers, a wound care rinse such as Vetericyn Plus Poultry Care Spray, (a wound treatment and infection control spray) bloodstop powder, tweezers, a nail file, Superglue gel, cotton swabs, old towels and tea bags (or silk nail wraps for acrylic fingernails). Having the proper supplies ready when a chicken is injured or sick allows me to focus on the chicken and their immediate needs instead of scrambling in a panic to acquire the essential items.
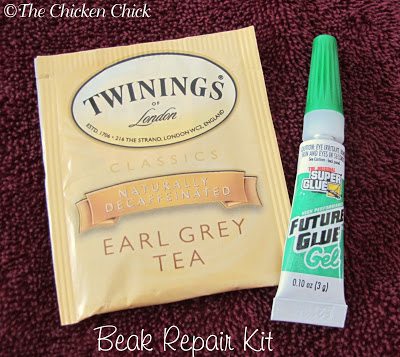
BEAK REPAIR SUPPLIES
- Scissors
- Superglue gel (gel is less apt to run, I wouldn’t want to glue her tongue to her beak!)
- Forceps or tweezers
- One tea bag (cut in a patch slightly larger than the area of the break)
- 2 towels
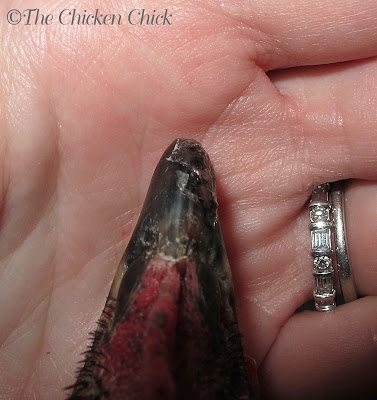
When I discovered one of my pullets with a beak injury, I had the necessary supplies ready. BB, whom I so named after this broken beak incident, had torn the tip of her beak diagonally from the front left side over to the right side, and its edges were jagged. The underlying beak tissue was exposed, but not damaged or bleeding, which made repairing the beak a fairly straightforward matter. Had I not noticed the injury when I did, the broken portion would have fallen off with the least bit of pecking, making the highly sensitive exposed tissue vulnerable to further insult and severe pain. I immediately picked up BB and whisked her into the house to repair her broken beak.
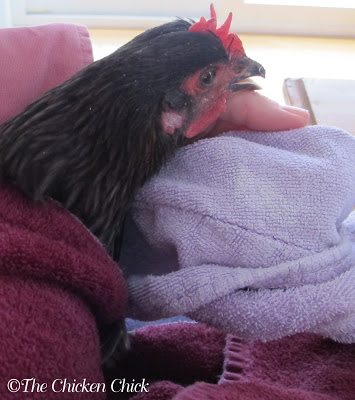
With my one free hand, I set my beak repair supplies on the kitchen table. I then wrapped BB in a large towel, burrito-style, with her wings comfortably but securely at her side and her feet covered. This technique keeps a chicken calm while preventing wing flapping in an attempt to flee and injuries to the caregiver from its toenails. The ‘towel burrito’ creates a safer environment to treat the bird. A second, smaller towel was draped loosely over BB’s eyes, which left her nasal passages (nares) free and kept her still.
Next, I cleaned the area gently but thoroughly with Vetericyn spray, remembering that the exposed tissue was extremely sensitive. While the area was drying, I emptied the tea bag and cut out a small patch slightly larger than the torn area of the beak. Using tweezers, I placed just enough superglue gel on the patch to moisten it. I aligned the broken piece into its proper position and placed the glue patch over the crack. It fit like a puzzle piece, leaving no rough or jagged edges. Had any rough edges remained, I would have used a nail file to smooth them. After the first layer of glue dried, I applied a second, very thin layer of glue over the entire patch with a cotton swab and allowed it to dry completely.
CAUTIONARY NOTE: Superglue gel should be used sparingly as the fumes can be irritating to birds. The glue should never be allowed to touch exposed tissue or run into the bird’s mouth. Injured beaks that are dirty or infected should never be sealed closed with glue; the contaminated tissue needs to be left exposed for cleaning, draining and to monitor infection.
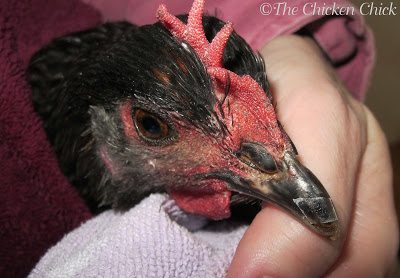
While I ordinarily keep injured birds separated from the rest of the flock to avoid further injury and picking from other birds, BB’s injury did not involve blood that might draw unwanted attention to it from flock-mates, further, the repair was virtually undetectable, so I felt it safe to return her to the backyard. When the glue was completely dry, I brought her back outside and she immediately commenced foraging. Over the next several months, I watched her carefully as the cracked area grew out and finally disappeared. She managed to hone it without dislodging the patch or re-opening the crack.
EXPOSED TISSUE
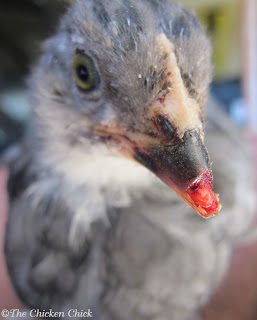
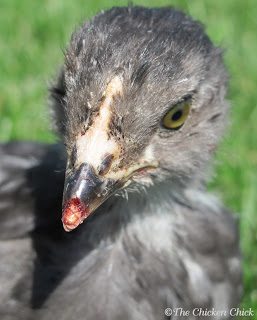
I once discovered a three week old Olive Egger hiding in a nest box with the front portion of her upper beak missing. The blood was bright red, which indicated the injury had occurred very recently. There was no debris on the tissue and no apparent injury to the tissue itself, so I immediately applied Vetericyn spray to clean it and kept her apart from the flock for several days until the tissue was no longer reddened and had begun to recede slightly. Throughout that week, I reapplied the wound cleaner three times a day until it healed to my satisfaction. If I had not had Vetericyn, I could have used hydrogen peroxide or a diluted povodine-iodine solution (aka: Betadine®) to cleanse the area followed by antibiotic ointment. Never use Superglue on exposed tissue. The pain will be excruciating. It will dry and heal perfectly well, just focus on keeping it clean.
Beak injuries that are more severe than the ones mentioned in this article may not be capable of repair at home. Cracks or injuries to the live portion of the beak require careful cleaning and infection control as well as bleeding control. Certain antibiotics and anti-inflammatories may be necessary, which can only be prescribed by a veterinarian. When a portion of a beak is missing, pressure should be held on the area to stem blood loss until a veterinarian can be seen. Avian specialists can fashion splints and acrylic beak prosthetics, but this degree of specialty care is unlikely to be either accessible to or feasible for most backyard chicken-keepers.
FEEDING CHICKENS WITH BEAK INJURIES
DO NOT ALTER THE DIET
Do not drastically alter the bird’s diet by offering foods or supplements they do not ordinarily eat. Doing so can make an unwell chicken feel even worse and negatively alter their gut bacteria, creating serious digestive health crisis. Chickens with a beak injury may find it difficult, if not painful to pick up pieces of feed. It can be helpful to add water to their feed to make a wet mash that is the consistency of grits, not soup. Remove and clean the dish, replacing it with freshly mixed feed every few hours to avoid mold growth.
REMINDER: Locate a veterinarian in your area before you need one
It is advisable to locate a veterinarian who will treat chickens before an emergency arises. A visit to their office to meet the staff can be the difference between being seen during a crisis and being told the vet has no time to examine a new patient. Have a backup plan, too. Find out who covers for that vet when they are on vacation and keep both phone numbers in your first aid kit. Even if the vet is not a certified poultry veterinarian, many practitioners have some experience with birds or chickens and will agree to help an animal in a life-threatening situation. See a list of board certified avian veterinarians here.
There will inevitably come a time in every flock when a sick or injured bird will need to be euthanized. It is a good idea to prepare for the inevitable by learning how to euthanize a bird humanely. Most vets, even if they do not ordinarily treat chickens, will euthanize a sick or injured bird. Inquire of your dog/cat/goat/horse ‘s vet whether this is a service they would be willing to render, but do so in advance of the need, if possible.

Kathy Shea Mormino
Affectionately known internationally as The Chicken Chick®, Kathy Shea Mormino shares a fun-loving, informative style to raising backyard chickens. …Read on


shop my SPONSORS


Chickens rely upon their beaks as tools to accomplish tasks that hands would serve- if they had them. Chicken beaks aid in eating, drinking, grasping, exploring, digging, transporting, grooming and communicating. Beak injuries are common and can result from colliding with an object, particularly when the bird is startled, fighting with predators or other chickens and getting the beak stuck in between hard objects such as hardware cloth fencing.
The extent of an injury can range from a simple chip to a fracture to a partial or complete removal of the beak from its underlying structures. A significant beak injury can be devastating to a chicken, not only can it be incredibly painful, and the injury can prevent the chicken from eating and drinking normally, endangering its ability to survive.
According to Dr. Melissa Shapiro, a veterinarian in Westport, Connecticut who owns a mobile veterinary service, “veterinary consultation and care is recommended for all animal medical issues. Some minor cracks can be left alone and they will grow out and be fine, more severe cracks need to be splinted and stabilized to keep the beak in alignment.” Ideally, beak injuries should be treated by a veterinarian, but unfortunately, the poultry veterinarian population has not kept pace with the rise in backyard flocks across the United States, making it necessary for chicken-keepers to be prepared to render first aid to their feathered pets, when needed.
ABOUT BEAKS
A normal beak is comprised of two halves; the upper and lower mandibles consist of bones covered by a hard keratin layer, much like human fingernails. The top mandible is slightly longer than the lower mandible and roughly two thirds of the mandibles’ length contains blood vessels and nerves underneath the hard outer layer. This network of nerves and
blood supply makes injuries to that portion of the beak especially painful and potentially life-threatening. The end tip of a chicken’s beak contains no blood supply or nerve endings, therefore is not painful when injured or trimmed. An inspection of the inside of the beak reveals where the live tissue ends and the dead portion begins. Chicken beaks continue to grow throughout the bird’s life and require maintenance, just like human fingernails.
Beak Maintenance
We tend not to notice beak growth in a healthy, active, backyard chicken because birds maintain their length and shape by pecking the ground and wiping them on hard or abrasive surfaces such as rocks. Beak wiping serves several other functions as well, including keeping it clean and sharpening it for tasks requiring precision such as preening and picking up insects and small pieces of food. Chickens confined to a run should be provided with a hard object such as a rock or brick, for honing. Some beaks grow abnormally for a variety of reasons. These are commonly referred to as crooked, scissor or crossed beaks and a chicken with this condition ordinarily requires assistance maintaining its beak length and shape, as well as accommodations in eating and drinking.
I prepare for emergencies in my flock by keeping a well stocked chicken first aid kit. For beak injuries, the following supplies are essential: canine nail clippers, a wound care rinse such as Vetericyn Plus Poultry Care Spray, (a wound treatment and infection control spray) bloodstop powder, tweezers, a nail file, Superglue gel, cotton swabs, old towels and tea bags (or silk nail wraps for acrylic fingernails). Having the proper supplies ready when a chicken is injured or sick allows me to focus on the chicken and their immediate needs instead of scrambling in a panic to acquire the essential items.
BEAK REPAIR SUPPLIES
- Scissors
- Superglue gel (gel is less apt to run, I wouldn’t want to glue her tongue to her beak!)
- Forceps or tweezers
- One tea bag (cut in a patch slightly larger than the area of the break)
- 2 towels
When I discovered one of my pullets with a beak injury, I had the necessary supplies ready. BB, whom I so named after this broken beak incident, had torn the tip of her beak diagonally from the front left side over to the right side, and its edges were jagged. The underlying beak tissue was exposed, but not damaged or bleeding, which made repairing the beak a fairly straightforward matter. Had I not noticed the injury when I did, the broken portion would have fallen off with the least bit of pecking, making the highly sensitive exposed tissue vulnerable to further insult and severe pain. I immediately picked up BB and whisked her into the house to repair her broken beak.
With my one free hand, I set my beak repair supplies on the kitchen table. I then wrapped BB in a large towel, burrito-style, with her wings comfortably but securely at her side and her feet covered. This technique keeps a chicken calm while preventing wing flapping in an attempt to flee and injuries to the caregiver from its toenails. The ‘towel burrito’ creates a safer environment to treat the bird. A second, smaller towel was draped loosely over BB’s eyes, which left her nasal passages (nares) free and kept her still.
Next, I cleaned the area gently but thoroughly with Vetericyn spray, remembering that the exposed tissue was extremely sensitive. While the area was drying, I emptied the tea bag and cut out a small patch slightly larger than the torn area of the beak. Using tweezers, I placed just enough superglue gel on the patch to moisten it. I aligned the broken piece into its proper position and placed the glue patch over the crack. It fit like a puzzle piece, leaving no rough or jagged edges. Had any rough edges remained, I would have used a nail file to smooth them. After the first layer of glue dried, I applied a second, very thin layer of glue over the entire patch with a cotton swab and allowed it to dry completely.
CAUTIONARY NOTE: Superglue gel should be used sparingly as the fumes can be irritating to birds. The glue should never be allowed to touch exposed tissue or run into the bird’s mouth. Injured beaks that are dirty or infected should never be sealed closed with glue; the contaminated tissue needs to be left exposed for cleaning, draining and to monitor infection.
While I ordinarily keep injured birds separated from the rest of the flock to avoid further injury and picking from other birds, BB’s injury did not involve blood that might draw unwanted attention to it from flock-mates, further, the repair was virtually undetectable, so I felt it safe to return her to the backyard. When the glue was completely dry, I brought her back outside and she immediately commenced foraging. Over the next several months, I watched her carefully as the cracked area grew out and finally disappeared. She managed to hone it without dislodging the patch or re-opening the crack.
EXPOSED TISSUE
I once discovered a three week old Olive Egger hiding in a nest box with the front portion of her upper beak missing. The blood was bright red, which indicated the injury had occurred very recently. There was no debris on the tissue and no apparent injury to the tissue itself, so I immediately applied Vetericyn spray to clean it and kept her apart from the flock for several days until the tissue was no longer reddened and had begun to recede slightly. Throughout that week, I reapplied the wound cleaner three times a day until it healed to my satisfaction. If I had not had Vetericyn, I could have used hydrogen peroxide or a diluted povodine-iodine solution (aka: Betadine®) to cleanse the area followed by antibiotic ointment. Never use Superglue on exposed tissue. The pain will be excruciating. It will dry and heal perfectly well, just focus on keeping it clean.
Beak injuries that are more severe than the ones mentioned in this article may not be capable of repair at home. Cracks or injuries to the live portion of the beak require careful cleaning and infection control as well as bleeding control. Certain antibiotics and anti-inflammatories may be necessary, which can only be prescribed by a veterinarian. When a portion of a beak is missing, pressure should be held on the area to stem blood loss until a veterinarian can be seen. Avian specialists can fashion splints and acrylic beak prosthetics, but this degree of specialty care is unlikely to be either accessible to or feasible for most backyard chicken-keepers.
FEEDING CHICKENS WITH BEAK INJURIES
DO NOT ALTER THE DIET
Do not drastically alter the bird’s diet by offering foods or supplements they do not ordinarily eat. Doing so can make an unwell chicken feel even worse and negatively alter their gut bacteria, creating serious digestive health crisis. Chickens with a beak injury may find it difficult, if not painful to pick up pieces of feed. It can be helpful to add water to their feed to make a wet mash that is the consistency of grits, not soup. Remove and clean the dish, replacing it with freshly mixed feed every few hours to avoid mold growth.
REMINDER: Locate a veterinarian in your area before you need one
It is advisable to locate a veterinarian who will treat chickens before an emergency arises. A visit to their office to meet the staff can be the difference between being seen during a crisis and being told the vet has no time to examine a new patient. Have a backup plan, too. Find out who covers for that vet when they are on vacation and keep both phone numbers in your first aid kit. Even if the vet is not a certified poultry veterinarian, many practitioners have some experience with birds or chickens and will agree to help an animal in a life-threatening situation. See a list of board certified avian veterinarians here.
There will inevitably come a time in every flock when a sick or injured bird will need to be euthanized. It is a good idea to prepare for the inevitable by learning how to euthanize a bird humanely. Most vets, even if they do not ordinarily treat chickens, will euthanize a sick or injured bird. Inquire of your dog/cat/goat/horse ‘s vet whether this is a service they would be willing to render, but do so in advance of the need, if possible.


Thank you for sharing your knowledge. My 17 week old buff Orpington chipped her beak this morning during a predator scare. The birds were safely in their run, but the racoon had them terrified. I remembered seeing this article a while back. In my frazzled state I definitely needed to read it a second time before trying to treat her.