

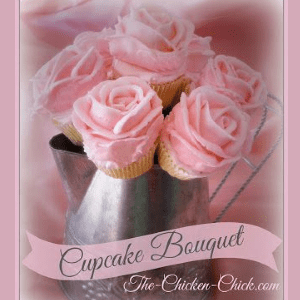
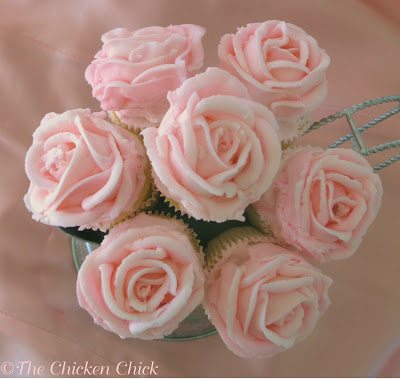
It’s always nice to be given flowers, but better yet if they’re edible!
These cupcake bouquets are fun to make, pretty to look at and taste delicious!


DIY CUPCAKE BOUQUET
SUPPLIES NEEDED
Mini Cupcakes
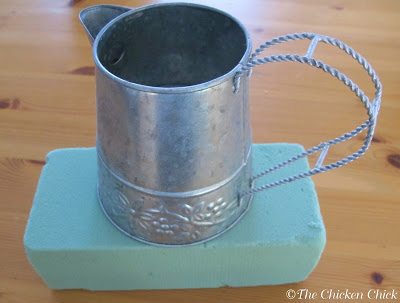
Decorative container (vase/mason jar/candle holder)
Floral foam cut to fit container
12″ Bamboo skewers cut to size
Frosting (see Wilton buttercream recipe, found below, or cheat & buy it from local bakery)
Gel food coloring (pink or red)
Cake decorating bag and tips (star tip or rose tip with rose nail)
Parchment paper cut into 2″ squares (for making roses)
LET’S MAKE IT!
Tint icing desired color with gel food coloring.
Frost cupcakes with a relatively thin layer of frosting to set crumbs.
Cut floral foam to fit snugly inside container. (a serrated knife works well) Foam should be level with top of container.
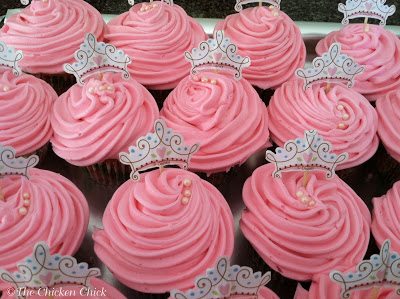
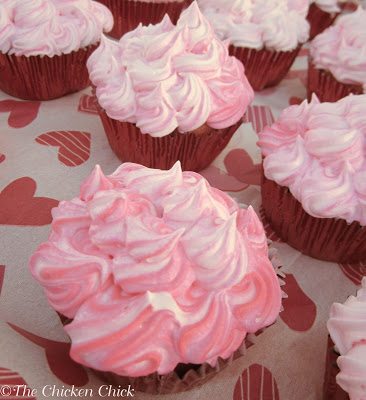
EITHER use star tip to create swirls on top of cupcake OR use rose tip with rose nail to make roses.
While I made this bouquet with roses, cupcakes with fancy swirls on top would look pretty too.
While I’d love to walk you through a tutorial on making frosting roses, it’s not my strong suit. There are many video tutorials on YouTube. I think this one is excellent.
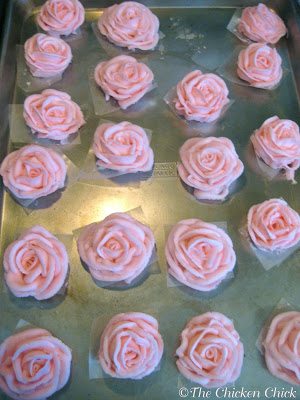
Place roses on top of cupcakes & insert blunt end of skewer into bottom of a cupcake.
Insert sharp end of skewer into center of floral foam. The center cupcake should sit highest in the arrangement. Arrange remaining cupcakes around the center cupcake.
WILTON BUTTERCREAM ICING
Makes approximately 3 cups of icing. (Medium Consistency)
INGREDIENTS
1/2 cup solid vegetable shortening
1/2 cup (1 stick) butter or margarine softened
1 teaspoon clear vanilla extract
4 cups sifted confectioners’ sugar (approximately 1 lb.)
2 tablespoons milk
LET’S MAKE IT!
In large bowl, cream shortening and butter with electric mixer. Add vanilla. Gradually add sugar, one cup at a time, beating well on medium speed. Scrape sides and bottom of bowl often. When all sugar has been mixed in, icing will appear dry. Add milk and beat at medium speed until light and fluffy. Keep bowl covered with a damp cloth until ready to use. For best results, keep icing bowl in refrigerator when not in use. Refrigerated in an airtight container, this icing can be stored 2 weeks. Re-whip before using.
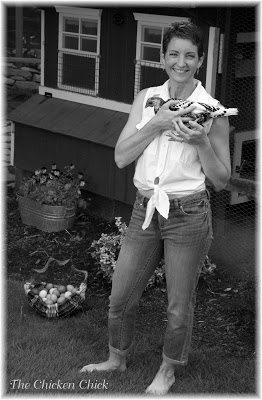

Kathy Shea Mormino
Affectionately known internationally as The Chicken Chick®, Kathy Shea Mormino shares a fun-loving, informative style to raising backyard chickens. …Read on


shop my SPONSORS


It’s always nice to be given flowers, but better yet if they’re edible!
These cupcake bouquets are fun to make, pretty to look at and taste delicious!
DIY CUPCAKE BOUQUET
SUPPLIES NEEDED
Mini Cupcakes
Decorative container (vase/mason jar/candle holder)
Floral foam cut to fit container
12″ Bamboo skewers cut to size
Frosting (see Wilton buttercream recipe, found below, or cheat & buy it from local bakery)
Gel food coloring (pink or red)
Cake decorating bag and tips (star tip or rose tip with rose nail)
Parchment paper cut into 2″ squares (for making roses)
LET’S MAKE IT!
Tint icing desired color with gel food coloring.
Frost cupcakes with a relatively thin layer of frosting to set crumbs.
Cut floral foam to fit snugly inside container. (a serrated knife works well) Foam should be level with top of container.
EITHER use star tip to create swirls on top of cupcake OR use rose tip with rose nail to make roses.
While I made this bouquet with roses, cupcakes with fancy swirls on top would look pretty too.
While I’d love to walk you through a tutorial on making frosting roses, it’s not my strong suit. There are many video tutorials on YouTube. I think this one is excellent.
Place roses on top of cupcakes & insert blunt end of skewer into bottom of a cupcake.
Insert sharp end of skewer into center of floral foam. The center cupcake should sit highest in the arrangement. Arrange remaining cupcakes around the center cupcake.
WILTON BUTTERCREAM ICING
Makes approximately 3 cups of icing. (Medium Consistency)
INGREDIENTS
1/2 cup solid vegetable shortening
1/2 cup (1 stick) butter or margarine softened
1 teaspoon clear vanilla extract
4 cups sifted confectioners’ sugar (approximately 1 lb.)
2 tablespoons milk
LET’S MAKE IT!
In large bowl, cream shortening and butter with electric mixer. Add vanilla. Gradually add sugar, one cup at a time, beating well on medium speed. Scrape sides and bottom of bowl often. When all sugar has been mixed in, icing will appear dry. Add milk and beat at medium speed until light and fluffy. Keep bowl covered with a damp cloth until ready to use. For best results, keep icing bowl in refrigerator when not in use. Refrigerated in an airtight container, this icing can be stored 2 weeks. Re-whip before using.


How sweet! I just love the watering can used as the base, and your cupcakes are beautiful! What a fun gift that would be to receive!
These are so cute, Kathy ;)
This looks
yummy! Please share this in a new Linky Party –Weekend Kitchen Creations at http://www.weekendkitchencreations.blogspot.com.
Please join us, share your delicious creation and get other scrumptious ideas.
This looks
yummy! Please share this in a new Linky Party –Weekend Kitchen Creations at http://www.weekendkitchencreations.blogspot.com.
Please join us, share your delicious creation and get other scrumptious ideas.
wow those are lovely! i don't think i have the skill to make them…but i know i have the skill to eat 'em!
thanks for sharing :)
trish @ tales from
…