


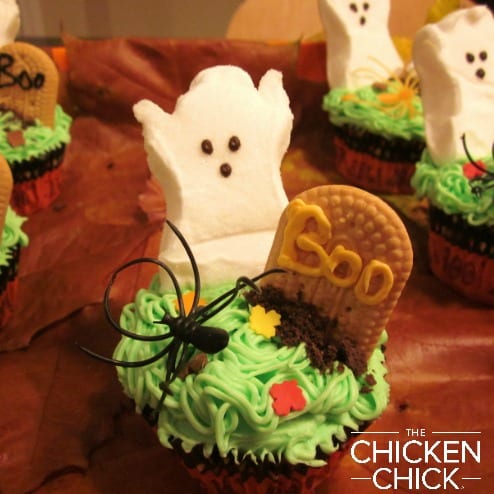
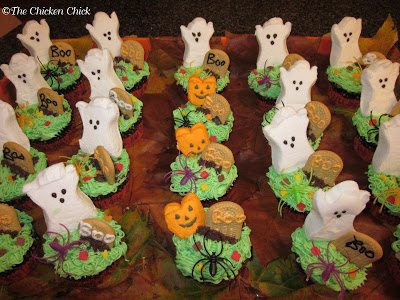
These graveyard cupcakes are a huge hit with my daughters’ classmates every time I make them. They can be as simple or complicated as you would like them to be. Take as much or as little help from the baking aisle as you like. This year, I needed all the help I could get.
DIY HALLOWEEN CUPCAKES
SUPPLIES NEEDED
24 cupcakes
butter cream icing (purchased from my grocery store’s bake shop)
cake decorating bag
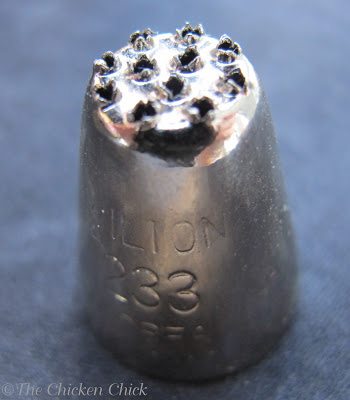
#3 and #233 decorating tips
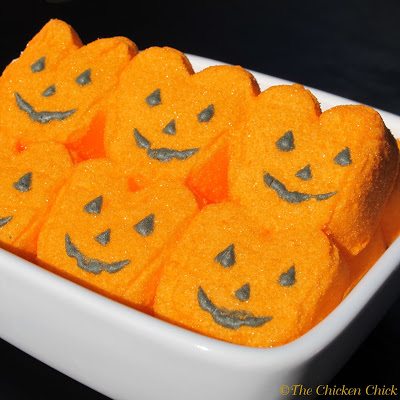
Peeps marshmallow ghosts, cats and/or pumpkins (with toothpicks inserted in bottom)
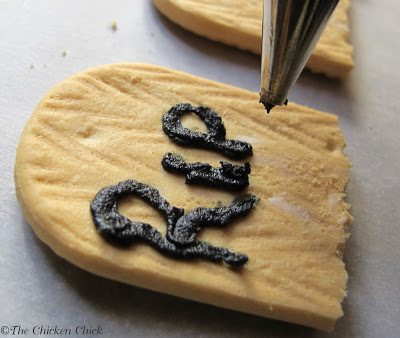
Vienna cookies, separated, filling removed and cut in half
4-5 Oreo cookies, crushed
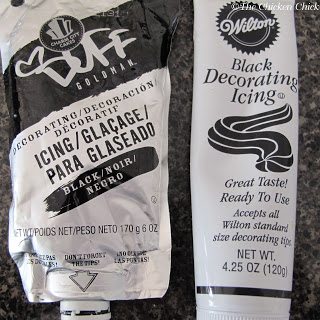
black icing (for writing)
green food coloring
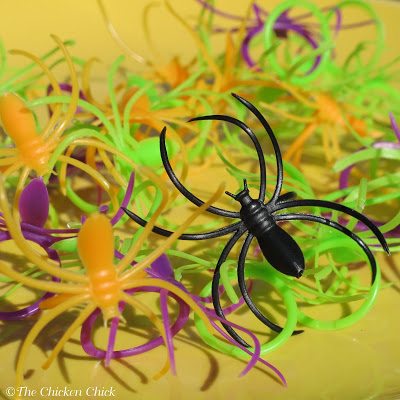
plastic, spider rings (I bought mine at a local party store)

LET’S MAKE IT!
Affix #3 decorating tip to the end of black icing bag or tube.
On flat side of cookie, write a little message on tombstone. Boo and RIP work for me.
Tint icing green.
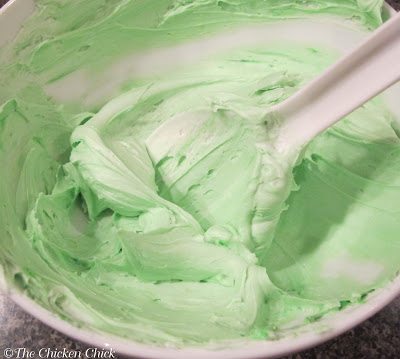
Affix decorator tip #233 to decorating bag and fill bag with icing.
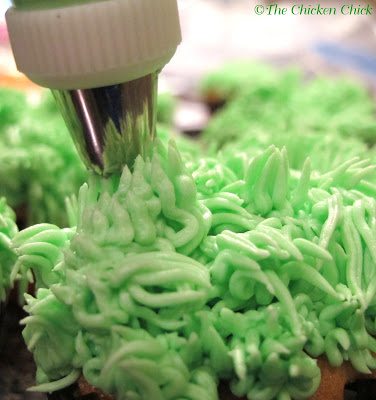
Icing the cupcakes may take a little practice with the grass decorating tip.Place tip near the cupcake, squeeze, allowing the strands to drop onto the cupcake, release pressure from the bag while pulling the bag upwards. The pull and release motion will give more of a grassy look than an hairy look (we reserve the hairy look for Cookie Monster)

Press a tombstone cookie, spider ring and marshmallow Peep into each cupcake. The Peeps need toothpicks to secure them to the cupcake so they don’t fall over.
Sprinkle some of the crushed Oreos around the tombstone! (I added candy leaves that I picked up in the grocery store bake shop too.)

Kathy Shea Mormino
Affectionately known internationally as The Chicken Chick®, Kathy Shea Mormino shares a fun-loving, informative style to raising backyard chickens. …Read on


shop my SPONSORS


These graveyard cupcakes are a huge hit with my daughters’ classmates every time I make them. They can be as simple or complicated as you would like them to be. Take as much or as little help from the baking aisle as you like. This year, I needed all the help I could get.
DIY HALLOWEEN CUPCAKES
SUPPLIES NEEDED
24 cupcakes
butter cream icing (purchased from my grocery store’s bake shop)
cake decorating bag
#3 and #233 decorating tips
Peeps marshmallow ghosts, cats and/or pumpkins (with toothpicks inserted in bottom)
Vienna cookies, separated, filling removed and cut in half
4-5 Oreo cookies, crushed
black icing (for writing)
green food coloring
plastic, spider rings (I bought mine at a local party store)
LET’S MAKE IT!
Affix #3 decorating tip to the end of black icing bag or tube.
On flat side of cookie, write a little message on tombstone. Boo and RIP work for me.
Tint icing green.
Affix decorator tip #233 to decorating bag and fill bag with icing.
Icing the cupcakes may take a little practice with the grass decorating tip.Place tip near the cupcake, squeeze, allowing the strands to drop onto the cupcake, release pressure from the bag while pulling the bag upwards. The pull and release motion will give more of a grassy look than an hairy look (we reserve the hairy look for Cookie Monster)
Press a tombstone cookie, spider ring and marshmallow Peep into each cupcake. The Peeps need toothpicks to secure them to the cupcake so they don’t fall over.
Sprinkle some of the crushed Oreos around the tombstone! (I added candy leaves that I picked up in the grocery store bake shop too.)


Sadly 4 of my beautiful girls, while out free ranging, were killed by a fox or coyote.
One was badly wounded but now is healing well after surgery. The other was not hurt.
My question is this: With only 2 bodies to warm each other are they safe outside at night in temperatures below freezing or should I bring them in on such nights?
I am aware of their need and ability to adapt to cold but with just 2 I am concerned.
As long as your coop is properly winterized they will be fine.
Thanks for the feature, Bonnie!!
This is a great Halloween recipe! Thanks for sharing it at The Pin Junkie LinkParty. This recipe was featured in aHUGE Halloween roundup. Hope you canstop by to grab a button and let everyone know that you were featured on The Pin Junkie. http://www.thepinjunkie.com/2013/10/halloween-roundup-31-halloween-projects.html
These are so cute, I would like to share this with my linky party I am doing on Thursday. I will just post the picture with a link back to you for details if that is okay.
Thanks for the invite, Cassidy- I'm all linked up! :) I'd love to have you join my weekly Clever Chicks Blog Hop. Here is this week's link: https://the-chicken-chick.com/2013/10/clever-chicks-blog-hop-56-with-ruby.html
I hope you can make it!