


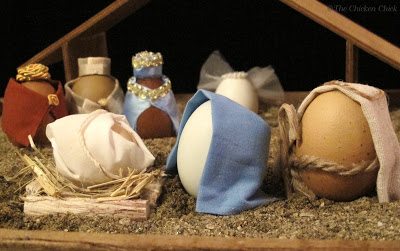
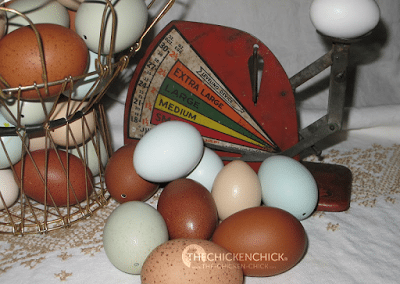
You just collected your first egg and it’s spectacular. You’re not really going to bash its shell on the counter, are you? ~gasp!~ Eggshells can be preserved for years of enjoyment by blowing out the contents and cleaning them. Looking for a fun craft project that makes a great gift? Decorate them for the holidays! 

Egg blowing is not difficult, it just takes a little patience and practice. I don’t recommend practicing on a special or favorite egg as beginning attempts tend to result in breakage. The three basic steps to blowing an egg are: 1. Put hole(s) in egg, 2, Empty contents 3. Clean inside of egg. Using room temperature eggs makes emptying the egg much easier than with a cold egg.

STEP 1 MAKE HOLE(s) IN EGG
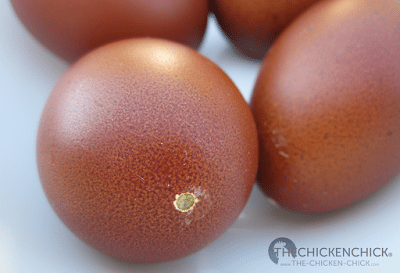
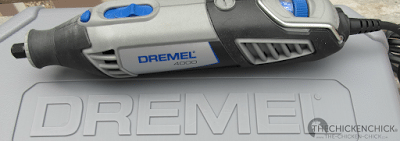
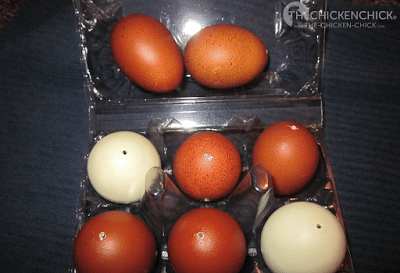
To blow an egg’s contents out of the shell, two holes are ordinarily required, one in the narrow end and one on the wide end (where the air cell is located). For beginners, marking the desired hole location on the egg with a pencil is helpful. There are many ways to get a hole in an egg. I have tried push pins, thumb tacks, the Blas-fix® egg blower tool and a Dremel drill. I do not recommend push pins, tacks or paper clips- they make jagged holes that often cause the shell to crack and the holes are so small that they make blowing difficult. The little tool that comes with the Blas-fix® egg blower was my preferred method until I was clued into the Dremel. It is far and away the best method I have used, hands down. The Dremel makes cleaner, more uniform holes much more quickly than other methods.
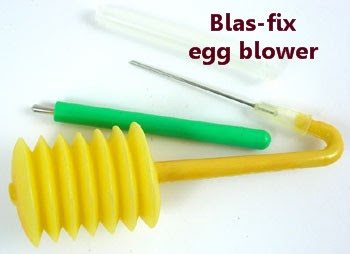
The Blas-fix egg blower tool. The Blas-fix tool works by twisting the tool back and forth, filing tiny bits of shell away and requires only one hole in the egg to empty it.
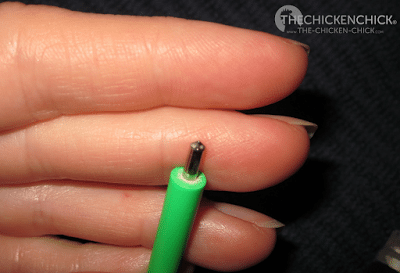
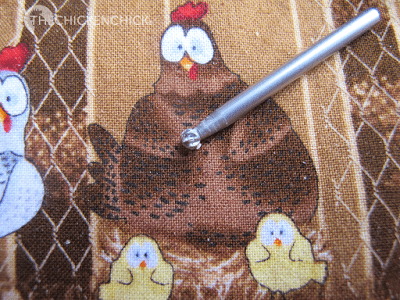
This is the Dremel attachment I use. Two holes are needed when blowing eggs with lung power or an aspirator.
STEP 2- EMPTY CONTENTS
Using either Lung power, Blas-fix® or Aspirator. After drilling holes, the yolk should then be broken by inserting a toothpick, open paperclip or a large gauge needle into the holes and carefully stirring so as not to enlarge the hole or chip the shell.
If you hoped for a video at this juncture, I’m sorry to disappoint; egg blowing with lung power is simply not a spectator sport. On second thought…when someone else is doing the blowing, it’s pretty funny. My step-daughter graciously “volunteered” to demonstrate the technique. ☺
After the yolk is scrambled, air is blown into one hole with pursed lips sealed around the hole. Cheeks should remain inflated like a trumpet player’s to maintain steady pressure. Chalza (the white stringy anchors inside the egg) may clog the hole, but can be dislodged by pulling gently with a piece of paper towel. Oh yes, this process is glamorous.
If using the Blas-fix, insert needle into hole and pump air in with the bellows. Ideally, the egg should stream out the hole, but it doesn’t always work. The bellows wear out very quickly, eventually cracking, resulting in a lack of sufficient pressure to get the egg out of the shell. It works great initially, but doesn’t last long enough to blow more than a dozen eggs. Lung power or an aspirator are more efficient and reliable than the Blas-fix.
If using an aspirator, the open end is inserted over the hole and air squeezed in, forcing the egg contents out the other hole.
STEP 3- CLEAN INSIDE OF EGG
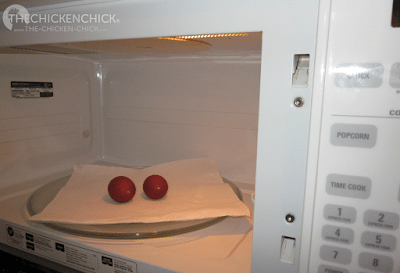
Submerge eggshells in a bowl full of water and partially fill shell with water. Cover both ends of the egg with thumb and forefinger, shake, then blown water out. This step should be repeated until water runs clear. I dry the eggs in the microwave to ensure sanitation, heating 12 second intervals, four to six times.
DECORATING BLOWN EGGS
Now that the eggs are empty and clean, it’s time to decorate them.
I made a Christmas Egg Tree and an Easter Egg tree last year. Dying the Easter eggs can be done the same way as with hard-cooked eggs.


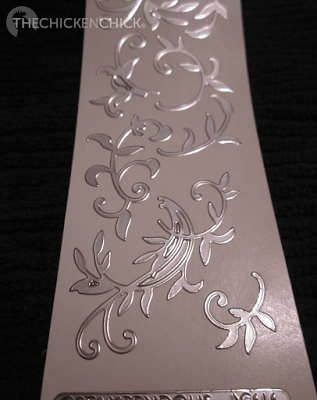
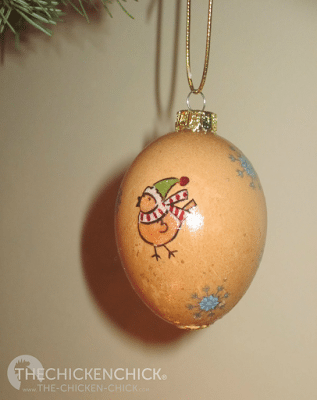
I use rub-ons or stickers from my local craft store or online.They’re easy to use and look pretty.
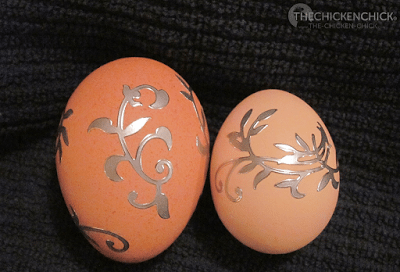
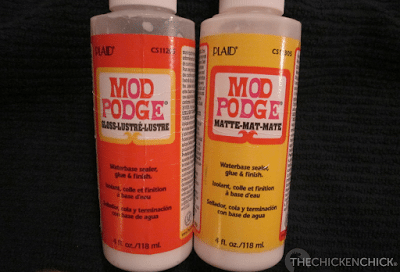
I use Modge Podge to seal my eggs after embellishing them. Just paint it on in a thin, even coat and let it dry. It adds some strength to the shell.
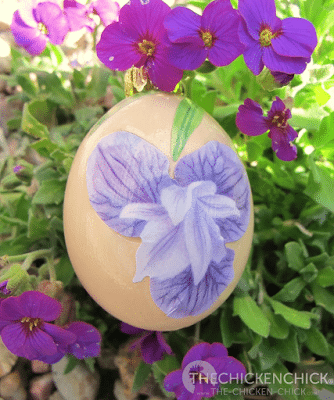
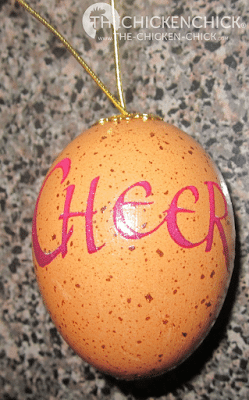
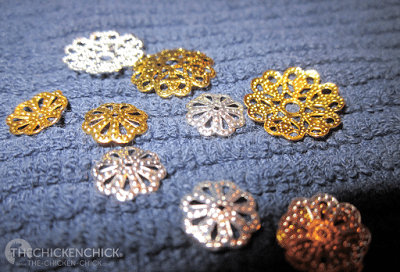
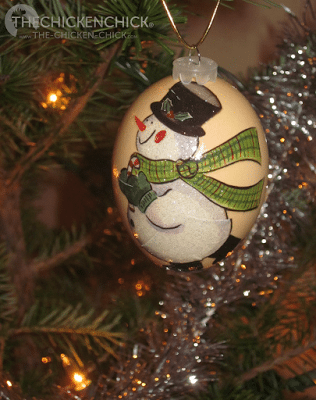
This is a rub-on that has decoupage over the top. I seal the holes in my blown eggs with bead caps and super glue gel. Bead caps are inexpensive and available at craft stores and online.

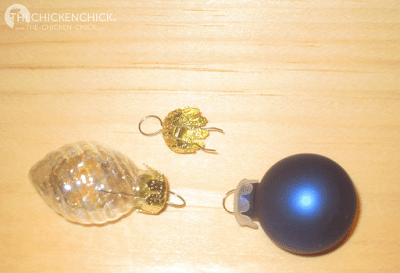
To hang my blown eggs, I use either bead caps with ribbon , elastic cord or, my preferred method: ornament caps. After I have foraged through last year’s ornament box for orphaned ornament tops and exhausted that supply, I buy miniature ornaments inexpensively and pirate them for use on my decorated eggs. No glue is necessary as the pressure from the little wires keeps them in place.
Elastic cord, ribbon or a wire ornament hanger can be used for hanging. Here are some of my favorite creations.
These marbleized blown eggs are super simple and fun to make. DIY instructions here.

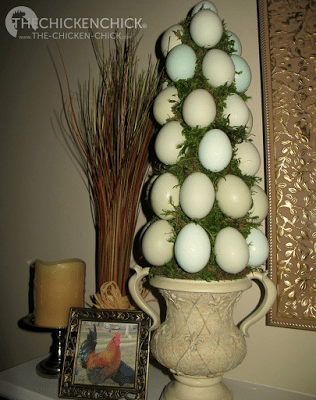
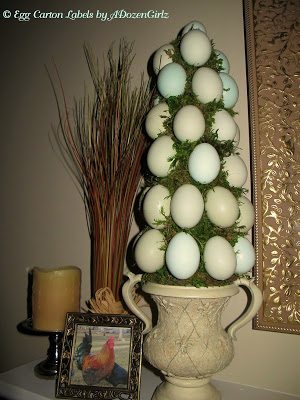
DIY instructions for this egg topiary with blown eggs can be found on my blog here.


Kathy Shea Mormino
Affectionately known internationally as The Chicken Chick®, Kathy Shea Mormino shares a fun-loving, informative style to raising backyard chickens. …Read on


shop my SPONSORS


You just collected your first egg and it’s spectacular. You’re not really going to bash its shell on the counter, are you? ~gasp!~ Eggshells can be preserved for years of enjoyment by blowing out the contents and cleaning them. Looking for a fun craft project that makes a great gift? Decorate them for the holidays!
Egg blowing is not difficult, it just takes a little patience and practice. I don’t recommend practicing on a special or favorite egg as beginning attempts tend to result in breakage. The three basic steps to blowing an egg are: 1. Put hole(s) in egg, 2, Empty contents 3. Clean inside of egg. Using room temperature eggs makes emptying the egg much easier than with a cold egg.
STEP 1 MAKE HOLE(s) IN EGG
To blow an egg’s contents out of the shell, two holes are ordinarily required, one in the narrow end and one on the wide end (where the air cell is located). For beginners, marking the desired hole location on the egg with a pencil is helpful. There are many ways to get a hole in an egg. I have tried push pins, thumb tacks, the Blas-fix® egg blower tool and a Dremel drill. I do not recommend push pins, tacks or paper clips- they make jagged holes that often cause the shell to crack and the holes are so small that they make blowing difficult. The little tool that comes with the Blas-fix® egg blower was my preferred method until I was clued into the Dremel. It is far and away the best method I have used, hands down. The Dremel makes cleaner, more uniform holes much more quickly than other methods.
The Blas-fix egg blower tool. The Blas-fix tool works by twisting the tool back and forth, filing tiny bits of shell away and requires only one hole in the egg to empty it.
This is the Dremel attachment I use. Two holes are needed when blowing eggs with lung power or an aspirator.
STEP 2- EMPTY CONTENTS
Using either Lung power, Blas-fix® or Aspirator. After drilling holes, the yolk should then be broken by inserting a toothpick, open paperclip or a large gauge needle into the holes and carefully stirring so as not to enlarge the hole or chip the shell.
If you hoped for a video at this juncture, I’m sorry to disappoint; egg blowing with lung power is simply not a spectator sport. On second thought…when someone else is doing the blowing, it’s pretty funny. My step-daughter graciously “volunteered” to demonstrate the technique. ☺
After the yolk is scrambled, air is blown into one hole with pursed lips sealed around the hole. Cheeks should remain inflated like a trumpet player’s to maintain steady pressure. Chalza (the white stringy anchors inside the egg) may clog the hole, but can be dislodged by pulling gently with a piece of paper towel. Oh yes, this process is glamorous.
If using the Blas-fix, insert needle into hole and pump air in with the bellows. Ideally, the egg should stream out the hole, but it doesn’t always work. The bellows wear out very quickly, eventually cracking, resulting in a lack of sufficient pressure to get the egg out of the shell. It works great initially, but doesn’t last long enough to blow more than a dozen eggs. Lung power or an aspirator are more efficient and reliable than the Blas-fix.
If using an aspirator, the open end is inserted over the hole and air squeezed in, forcing the egg contents out the other hole.
STEP 3- CLEAN INSIDE OF EGG
Submerge eggshells in a bowl full of water and partially fill shell with water. Cover both ends of the egg with thumb and forefinger, shake, then blown water out. This step should be repeated until water runs clear. I dry the eggs in the microwave to ensure sanitation, heating 12 second intervals, four to six times.
DECORATING BLOWN EGGS
Now that the eggs are empty and clean, it’s time to decorate them.
I made a Christmas Egg Tree and an Easter Egg tree last year. Dying the Easter eggs can be done the same way as with hard-cooked eggs.
I use rub-ons or stickers from my local craft store or online.They’re easy to use and look pretty.
I use Modge Podge to seal my eggs after embellishing them. Just paint it on in a thin, even coat and let it dry. It adds some strength to the shell.
This is a rub-on that has decoupage over the top. I seal the holes in my blown eggs with bead caps and super glue gel. Bead caps are inexpensive and available at craft stores and online.
To hang my blown eggs, I use either bead caps with ribbon , elastic cord or, my preferred method: ornament caps. After I have foraged through last year’s ornament box for orphaned ornament tops and exhausted that supply, I buy miniature ornaments inexpensively and pirate them for use on my decorated eggs. No glue is necessary as the pressure from the little wires keeps them in place.
Elastic cord, ribbon or a wire ornament hanger can be used for hanging. Here are some of my favorite creations.
These marbleized blown eggs are super simple and fun to make. DIY instructions here.
DIY instructions for this egg topiary with blown eggs can be found on my blog here.


I’ve never heard of this before, and am going to try this as soon as I get back home from vacation!!