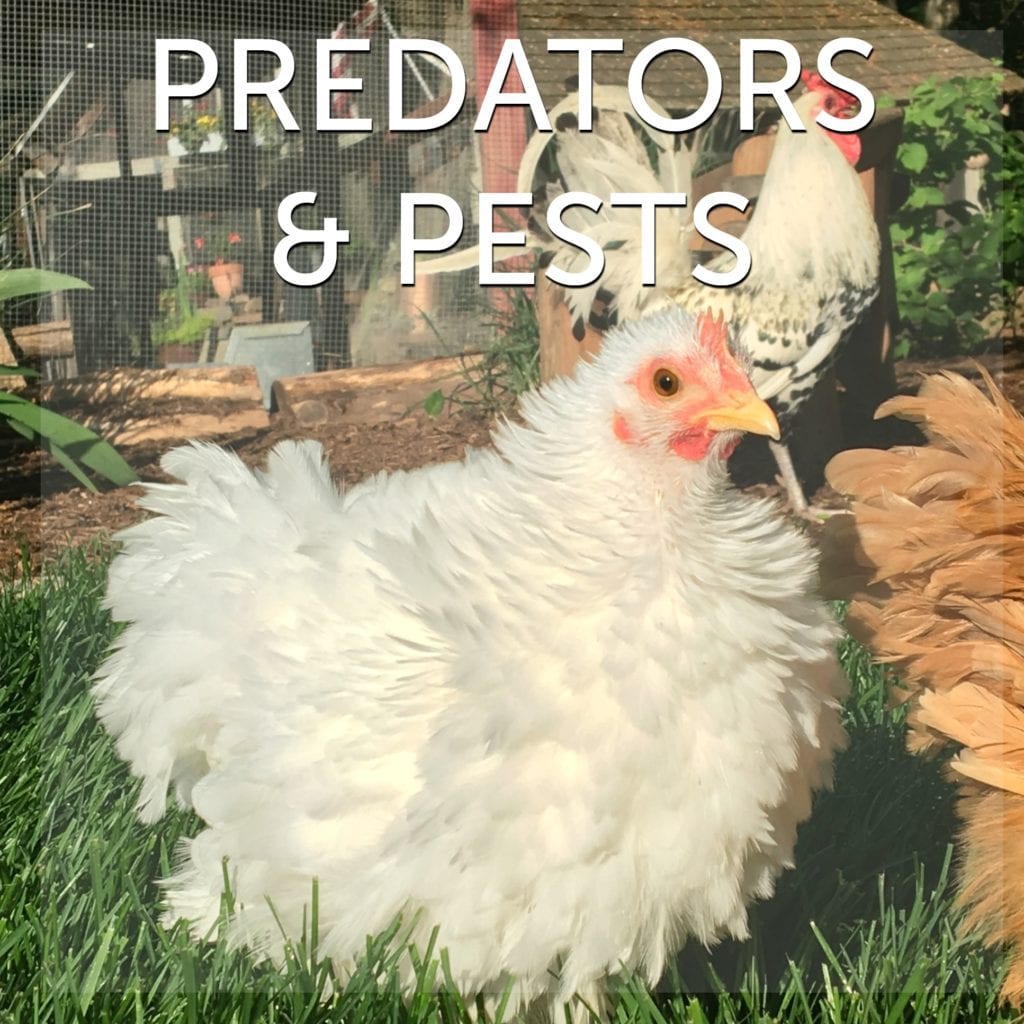
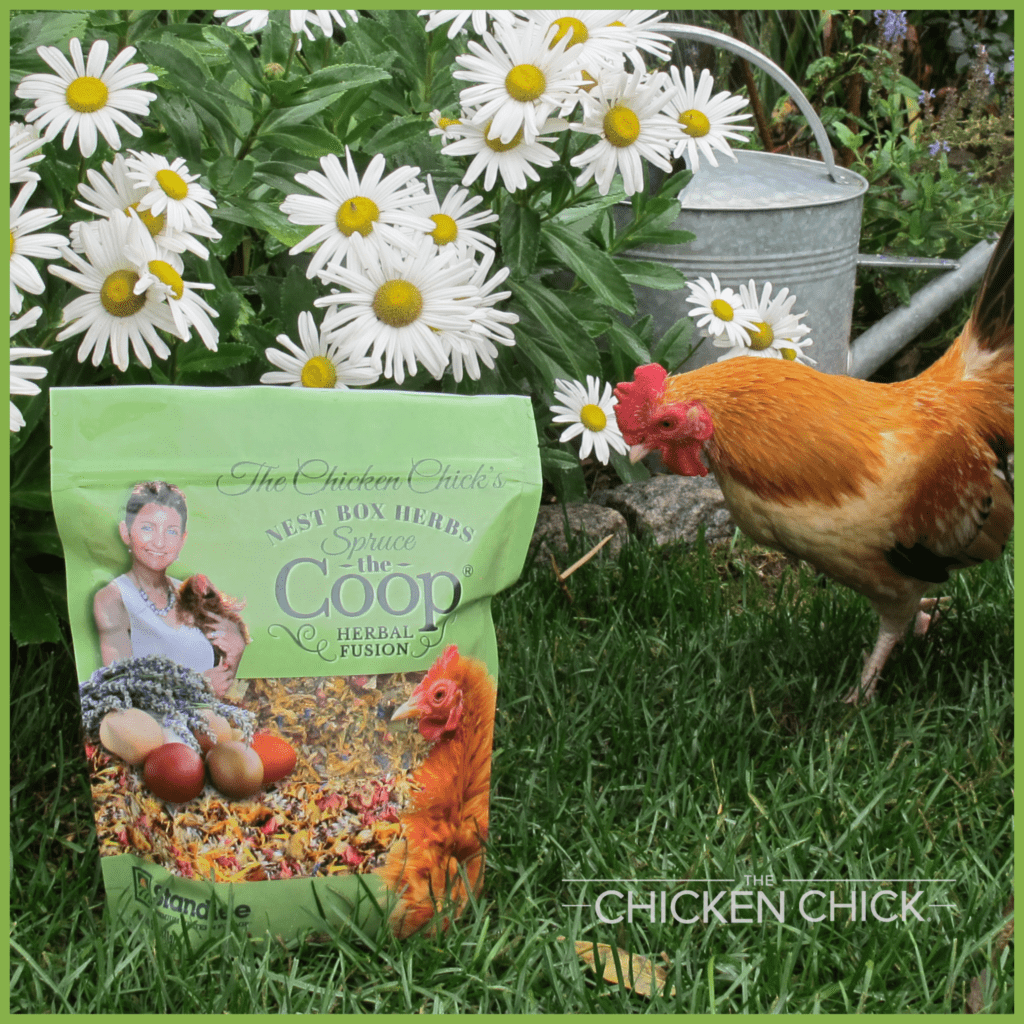
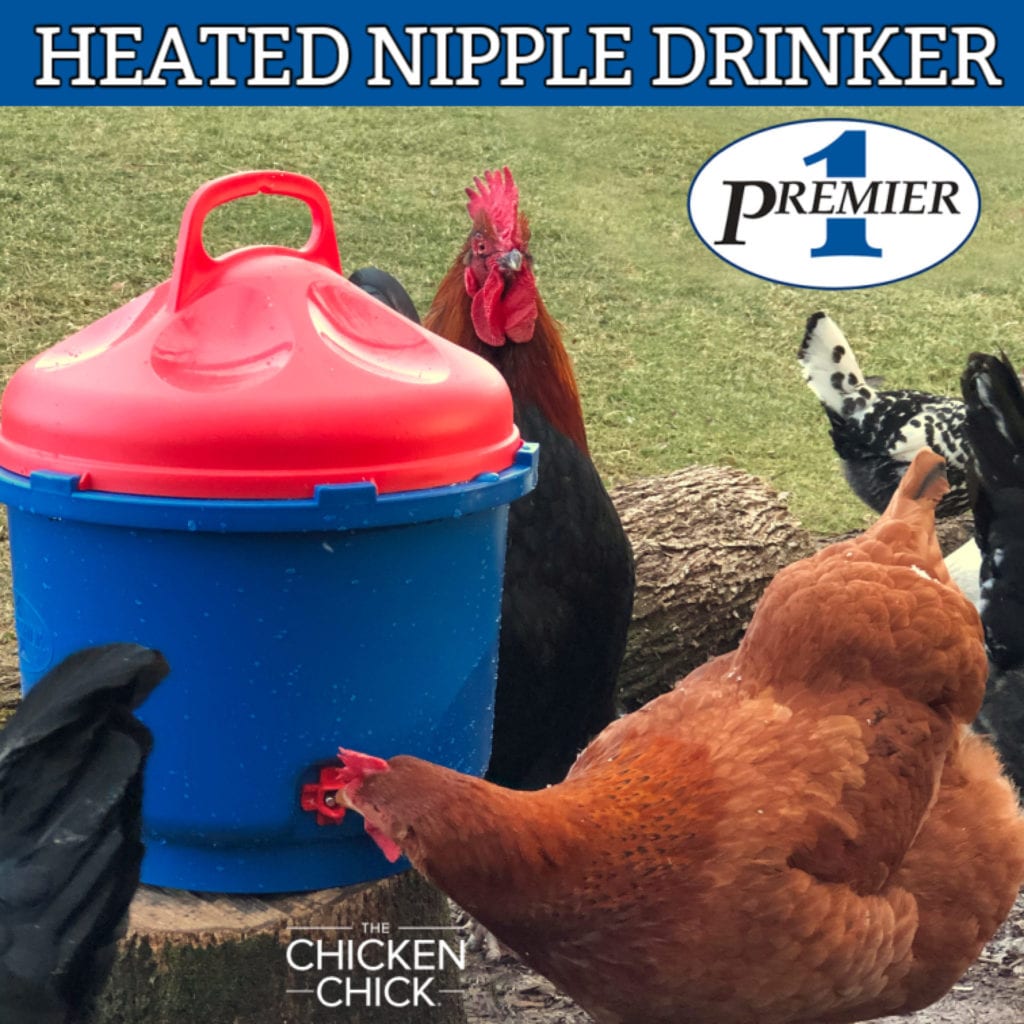
I have been
upcycling feed bags into market totes, chicken
coop artwork, Christmas stockings and shipping envelopes for years and this
spring I’m putting the feed bags to use in a different way: as portable potato gardens. Planting potatoes in a container allows them to be grown in a small space and provides more flexibility in location. It's ideal for keeping my chickens from scratching them up and it frees up space in my garden for other plants and herbs they won't eat. The technique is remarkably simple and I’m looking forward to the spuds in a
few months!
Materials Needed:
woven plastic Feed bag with top end cut off
garden soil/compost
chicken manure compost or potato fertilizer
About the potatoes:
I ordered Yukon Gold seed potatoes, but there are endless varieties from which to choose; I found this variety selector very helpful. Store bought potatoes are not as good a choice as specially grown, disease-free, seed potatoes.
When the potatoes arrive, they can be "chitted," or sprouted to give them a head-start in the growing process. Placing them in a bright location for a week or two will result in eyes that sprout to an inch or less. I didn't bother chitting mine because I'm impatient like that and they'll grow fine without it.
Before planting, the sprouted potatoes can be cut into pieces, each containing a sprout, (or eye) but the cut pieces must be dried for 2-4 days before planting to avoid rotting. I used whole potatoes.
How to Plant 'em
1. Roll down a cuff on the feed bag 2/3 of the way down. I placed straw in the bottom for drainage.
2. Fill bottom 1/3 of the bag with high-quality compost/garden soil
3. Place 5 potatoes, eyes up, into the soil. They shouldn't touch each other or the sides of the bag.
 |
| Compost, courtesy of my backyard pets. |
4. Either add a layer of chicken manure compost (my material of choice) or sprinkle some potato fertilizer around the spuds (not on top of them).
5. Cover with ~4 inches of compost/garden soil to the top of the bag.
6. Using a sharp knife or pair of scissors, poke holes in the bottom and sides of the bag for drainage.
7. Place in a location that receives full sun. Water sparingly each morning. The soil should not be soaked, but should not dry out either.
8. When leaves are approximately 6 inches tall, roll bag up a bit and cover all but the top most leaves with compost/garden soil. Repeat as leaves grow.
9. Fertilize every other week until leaves turn yellow and begin to dry out.
10. When leaves are dried out, harvest by cutting open the bag (preferably directly in the garden). Allow harvested potatoes to cure in full sun after harvesting for a day or two. The spuds will be ready to harvest in approximately 3 months (varies by variety).
For other uses for empty feed bags, visit my blog article
here.
 |
| Feed bag coop art. |
JOIN ME ON FACEBOOK!
This post was shared with: Adorned from Above, Cheerios & Lattes, Crafts a la Mode, Dear Creatives,Fluster Buster, Diana Rambles, I Gotta Create, I Gotta Try That, Small Footprint Family, The Pin Junkie, The Wilderness Wife
Read more ...